QRP-Labs QMX Burned Out
With QMX in hand and on vacation, I had the good intention of doing a SOTA activation. You’re a beginning radio amateur and you immediately set the bar high.
SSB pota hunting from the caravan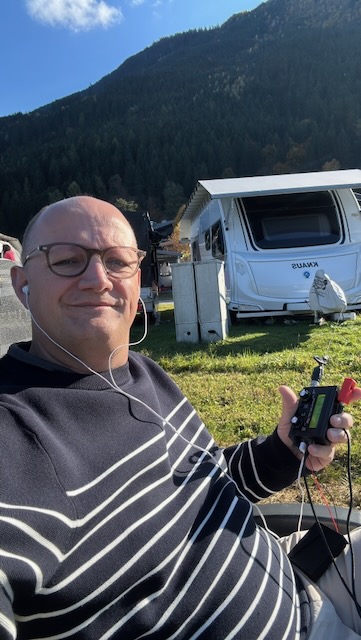
From the meadow it’s perfectly doable with a chair. A wire strung from the caravan — I didn’t have a long pole yet — and straight onto the bands. This was also the first test to see if I could make an SSB connection with the device. Miraculously, it actually worked. M7CUW has the honour of being my first SSB contact. A bit unsure about what I needed to exchange, this OM patiently took the time to guide me through all the required exchanges. I quickly understood that I was coming through at 47, and since he was fairly clear on my end I could give him a 57. After that came the exchange of the park number, GB-569, and the conversation was over.
After this nice success, I wanted more. Not long after, a plan started forming in my head to try a SOTA activation. We’re in Austria, the weather is good — let’s go for it!
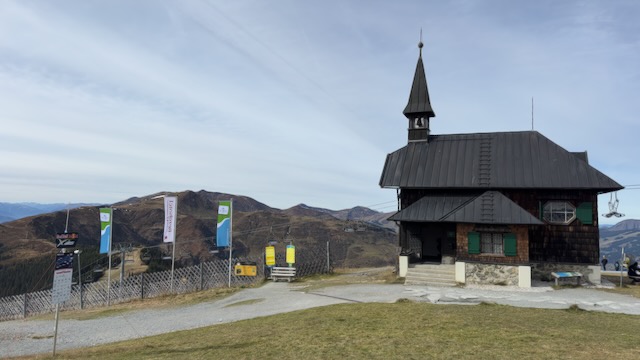
Small church on top of the Schmittenhohe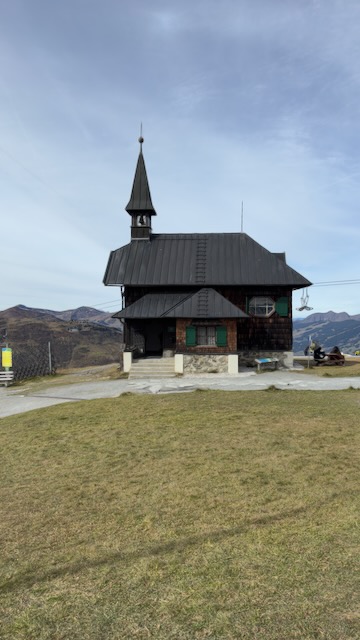
Once there, I realise I forgot the 15m antenna wire. Silly me! Not ideal at all. But I did have a 20m wire with me. Surely I should be able to trim it down?
As quickly as the thought crosses my mind, I’m already cutting the wire by feel. The QMX has a small SWR tune function, so let me see what it does. This small tune function tests at 25% power whether everything is fine. After much testing and tuning I can’t get the wire perfect, but I believe I have an SWR of 1.8:1. I thought that should be good enough?
Let’s start with some FT8. I do a CQ SOTA, another CQ SOTA… there’s no immediate response, but that’s normal. A few more CQs and the device goes into fault mode. Off, on again, fault is gone. Let’s try again.
Game Over!
74ACT08 burned out.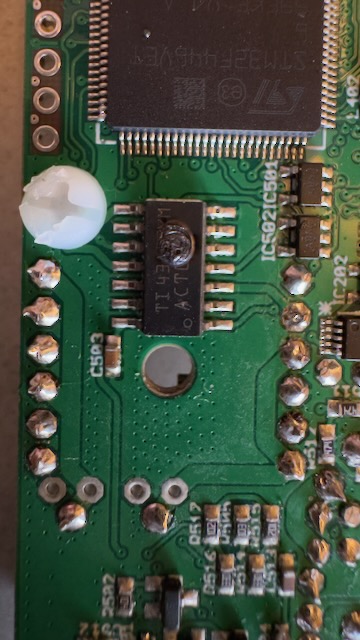
I also feel at the back that the device is too hot and a characteristic smell emerges. It feels and smells like the BS170s have given up the ghost.
Once back at the caravan, I open the device to assess the damage. The BS170s appear visually undamaged. Time to use my other sense then. A quick sniff over the board to track down that smell. Soon the eyes take over from the nose. The victim is found. On the other side of the board, opposite the BS170s, sits a quad-and 74ACT08 SOIC-14. The damage is clearly visible here. There’s no way I can repair this in the caravan.
When I try to look up the component online, I only find Digikey or Mouser as suppliers. That’s going to be an expensive repair! Not because the components are expensive, but because €20 in shipping is charged. That makes a part costing just €1 very expensive indeed.
After exchanging some messages with fellow amateurs in the QMX mailing groups, I find out it’s a fairly generic component. So with renewed hope I dive back onto the internet and find the company Farnell. This company charges only €12.95 for shipping and happens to carry a number of other components I need. A great way to spread the shipping costs over more products.
Once back in the Netherlands, the parts are already waiting on the doormat and I can get started straight away. Since it wasn’t certain whether the BS170 final stages were also fried, and they cost only €0.10 each, the decision was quickly made to replace them preventively. This turns out to be quite a task. The QMX PCB consists of six layers with an exceptional amount of contact material around the BS170s, to ensure sufficient cooling and good contact. All in all, quite a (de)soldering job.
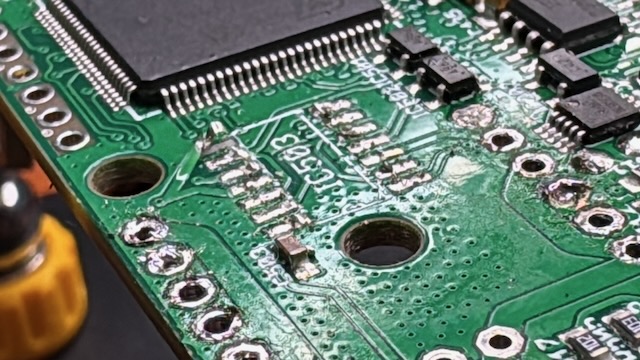
74ACT08 PCB trace lifted.
The 74ACT08 is relatively easy to remove, but my inexperience with soldering small components comes back to bite me. Unfortunately, I lift a trace. With more luck than skill, it turns out I only pulled the trace off the PCB surface. The contact itself is still intact, it just needs to be reattached. With a small drop of glue on a leftover leg stub from the BS170, I tack down the PCB and hold the trace in place with tweezers for a few minutes. Miraculously, this does the trick. A few moments later the replacement 74ACT08 is secured with a fine-tipped soldering iron. Once everything has cooled down, the QMX is powered on. The cursed screen-of-death thankfully stays away and I see the QMX passing through its internal checks and booting up normally.
I quickly head out to the garden. A few days earlier, the AliExpress package had also arrived — a nice vertical stainless steel telescopic antenna of 5.6m made for the 20m band. I got this idea after a nice demonstration by Cor - PA4Q, who had shown this antenna a week before my departure to Austria at the Veron A18 evening. After a quick check on the VNA, everything looks perfectly fine with an SWR of 1.05. I feel confident connecting the QMX to this.
The QMX is connected and soon the first contact is made. PC5R has the honour of being my first contact after this long interruption. Now being a bit more careful with the QMX — there’s little protection built into the device. The internal SWR protection at 3:1 does work, but if you’re clumsily tuning with a wire antenna as a beginner, you can still fry your rig. The antenna wire has since been replaced after it turned out to indeed sometimes fail when tested.
This was another valuable lesson. Next time, bring the right antenna. If not, better to skip a day and keep your equipment in one piece.